Getting Started with Draft
Draft is a platform where you can publish and sell articles with only 6.6% fee. Here's how to get started in 5 minutes.
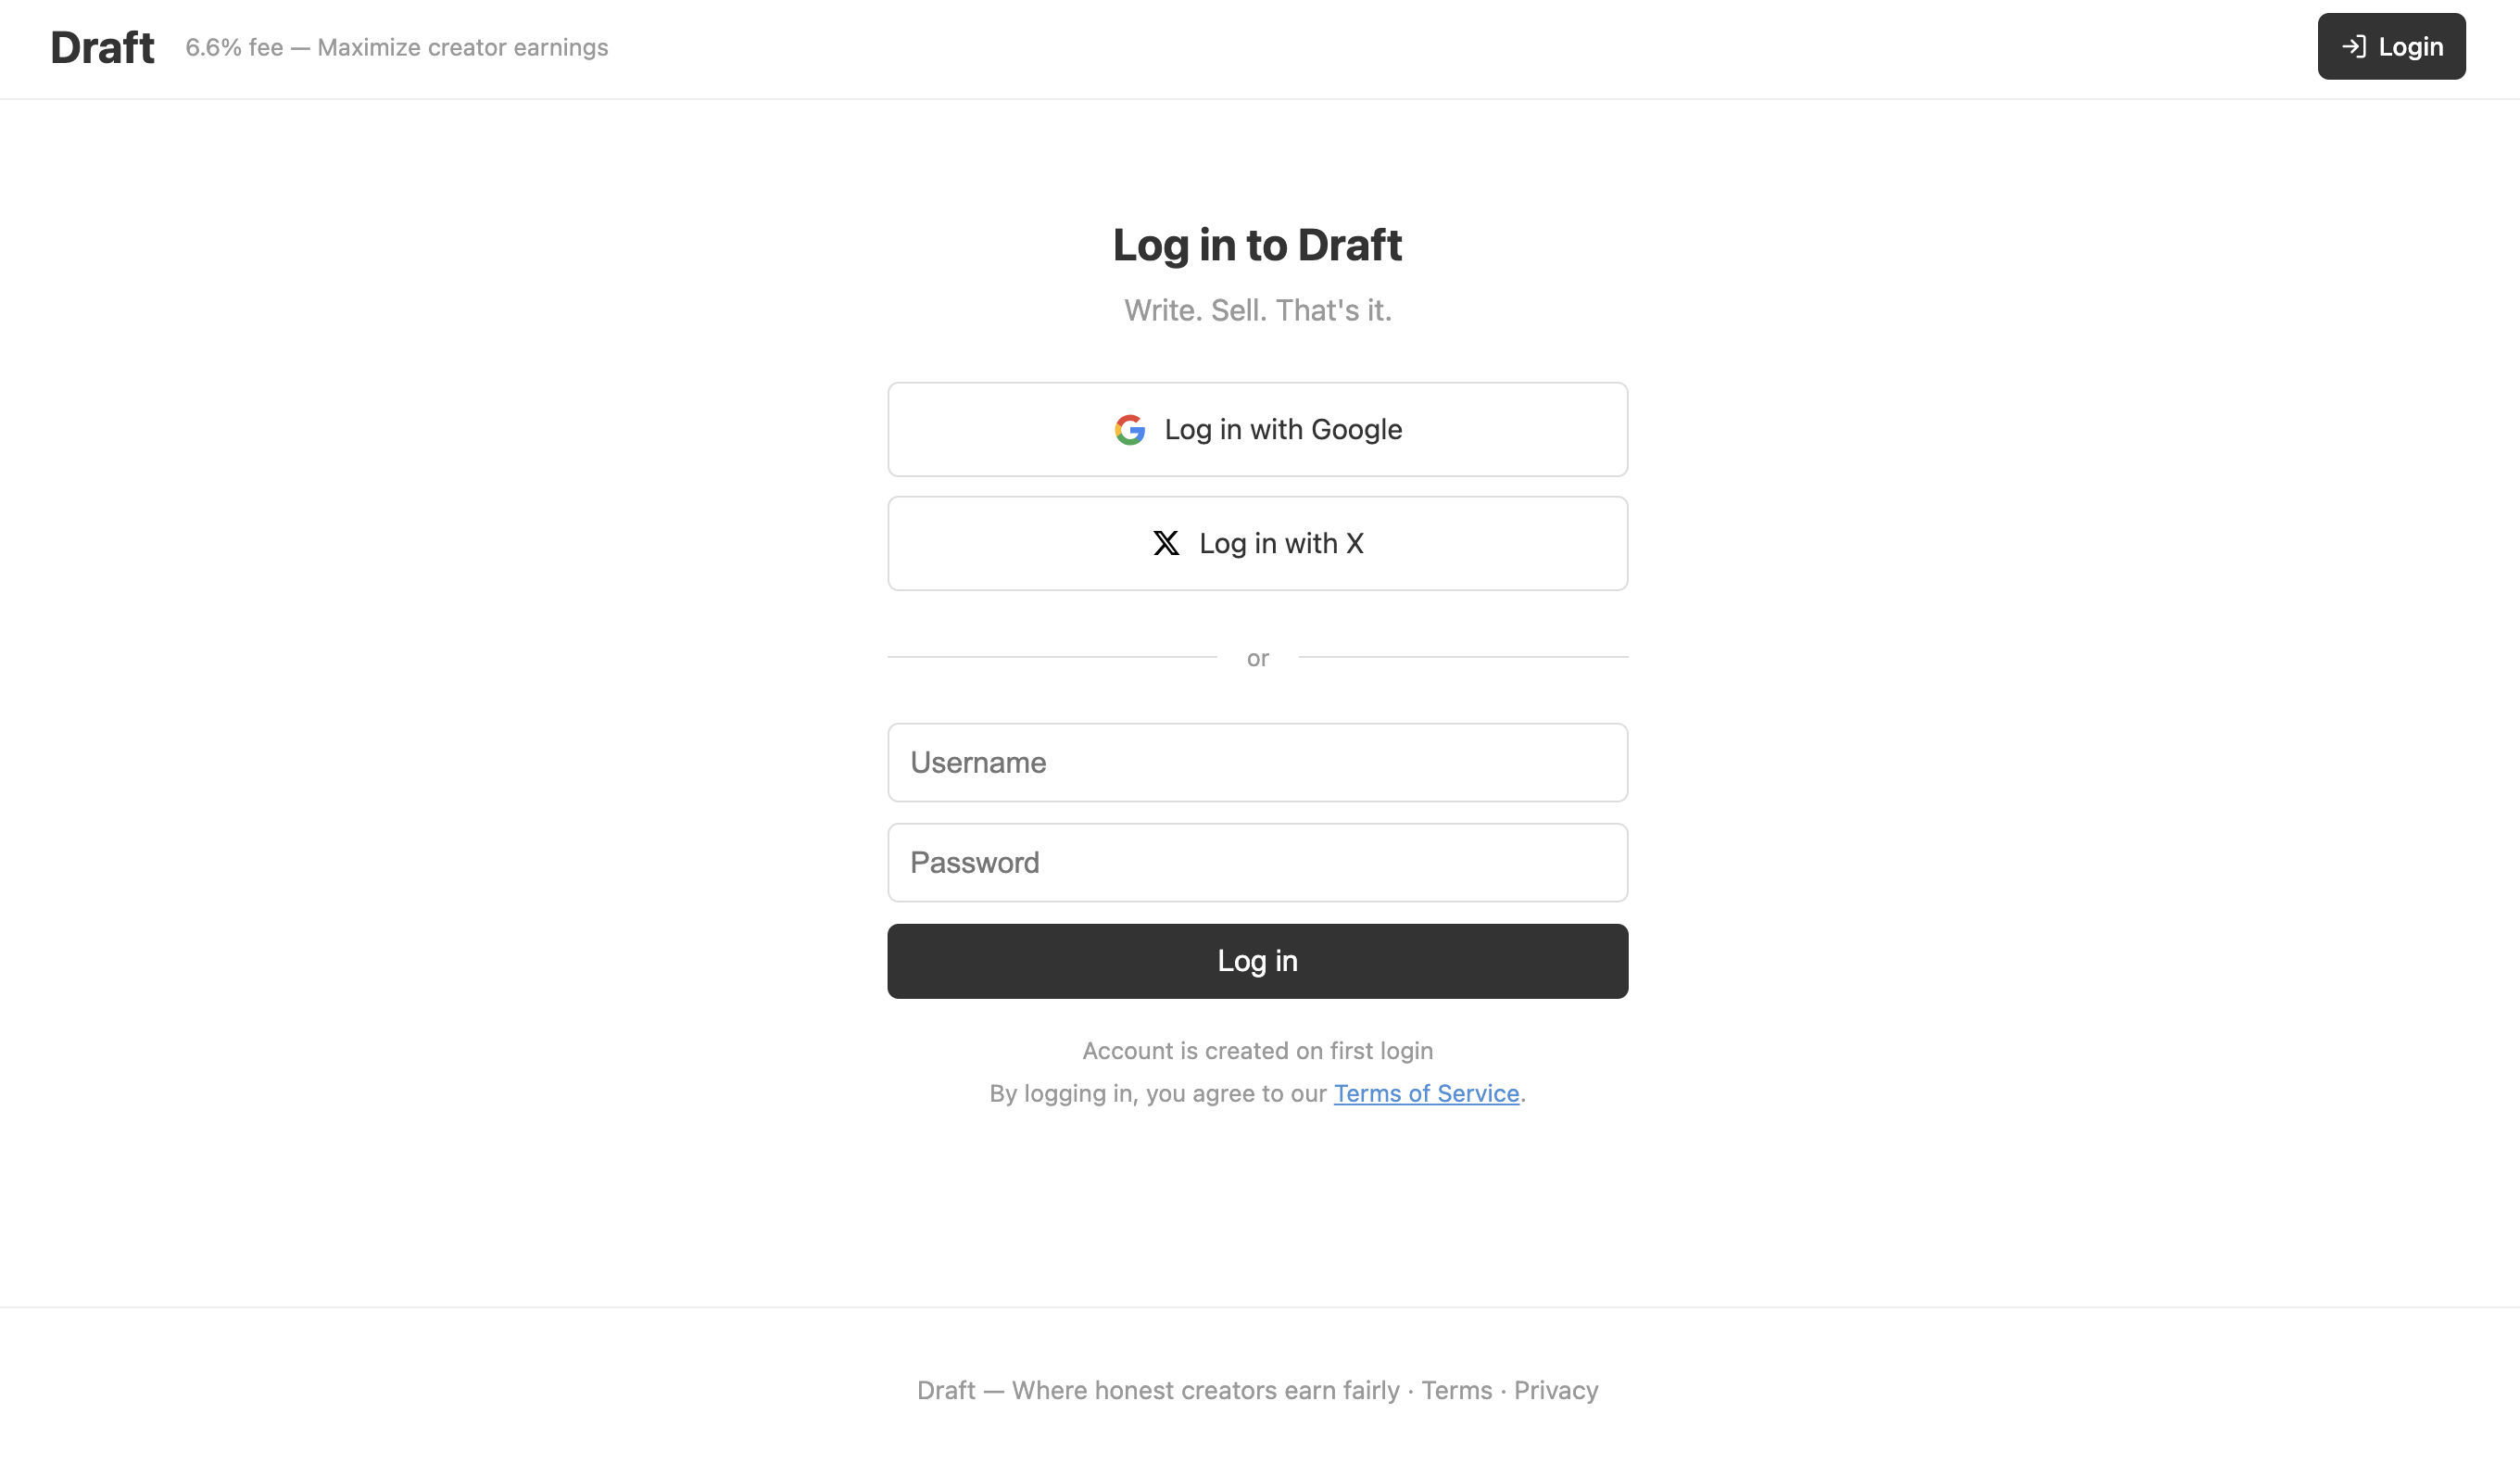
Step 1: Create an Account
Go to draft-publish.com/login and sign in with Google, X (Twitter), or a username/password.
That's it. No email verification, no waiting.
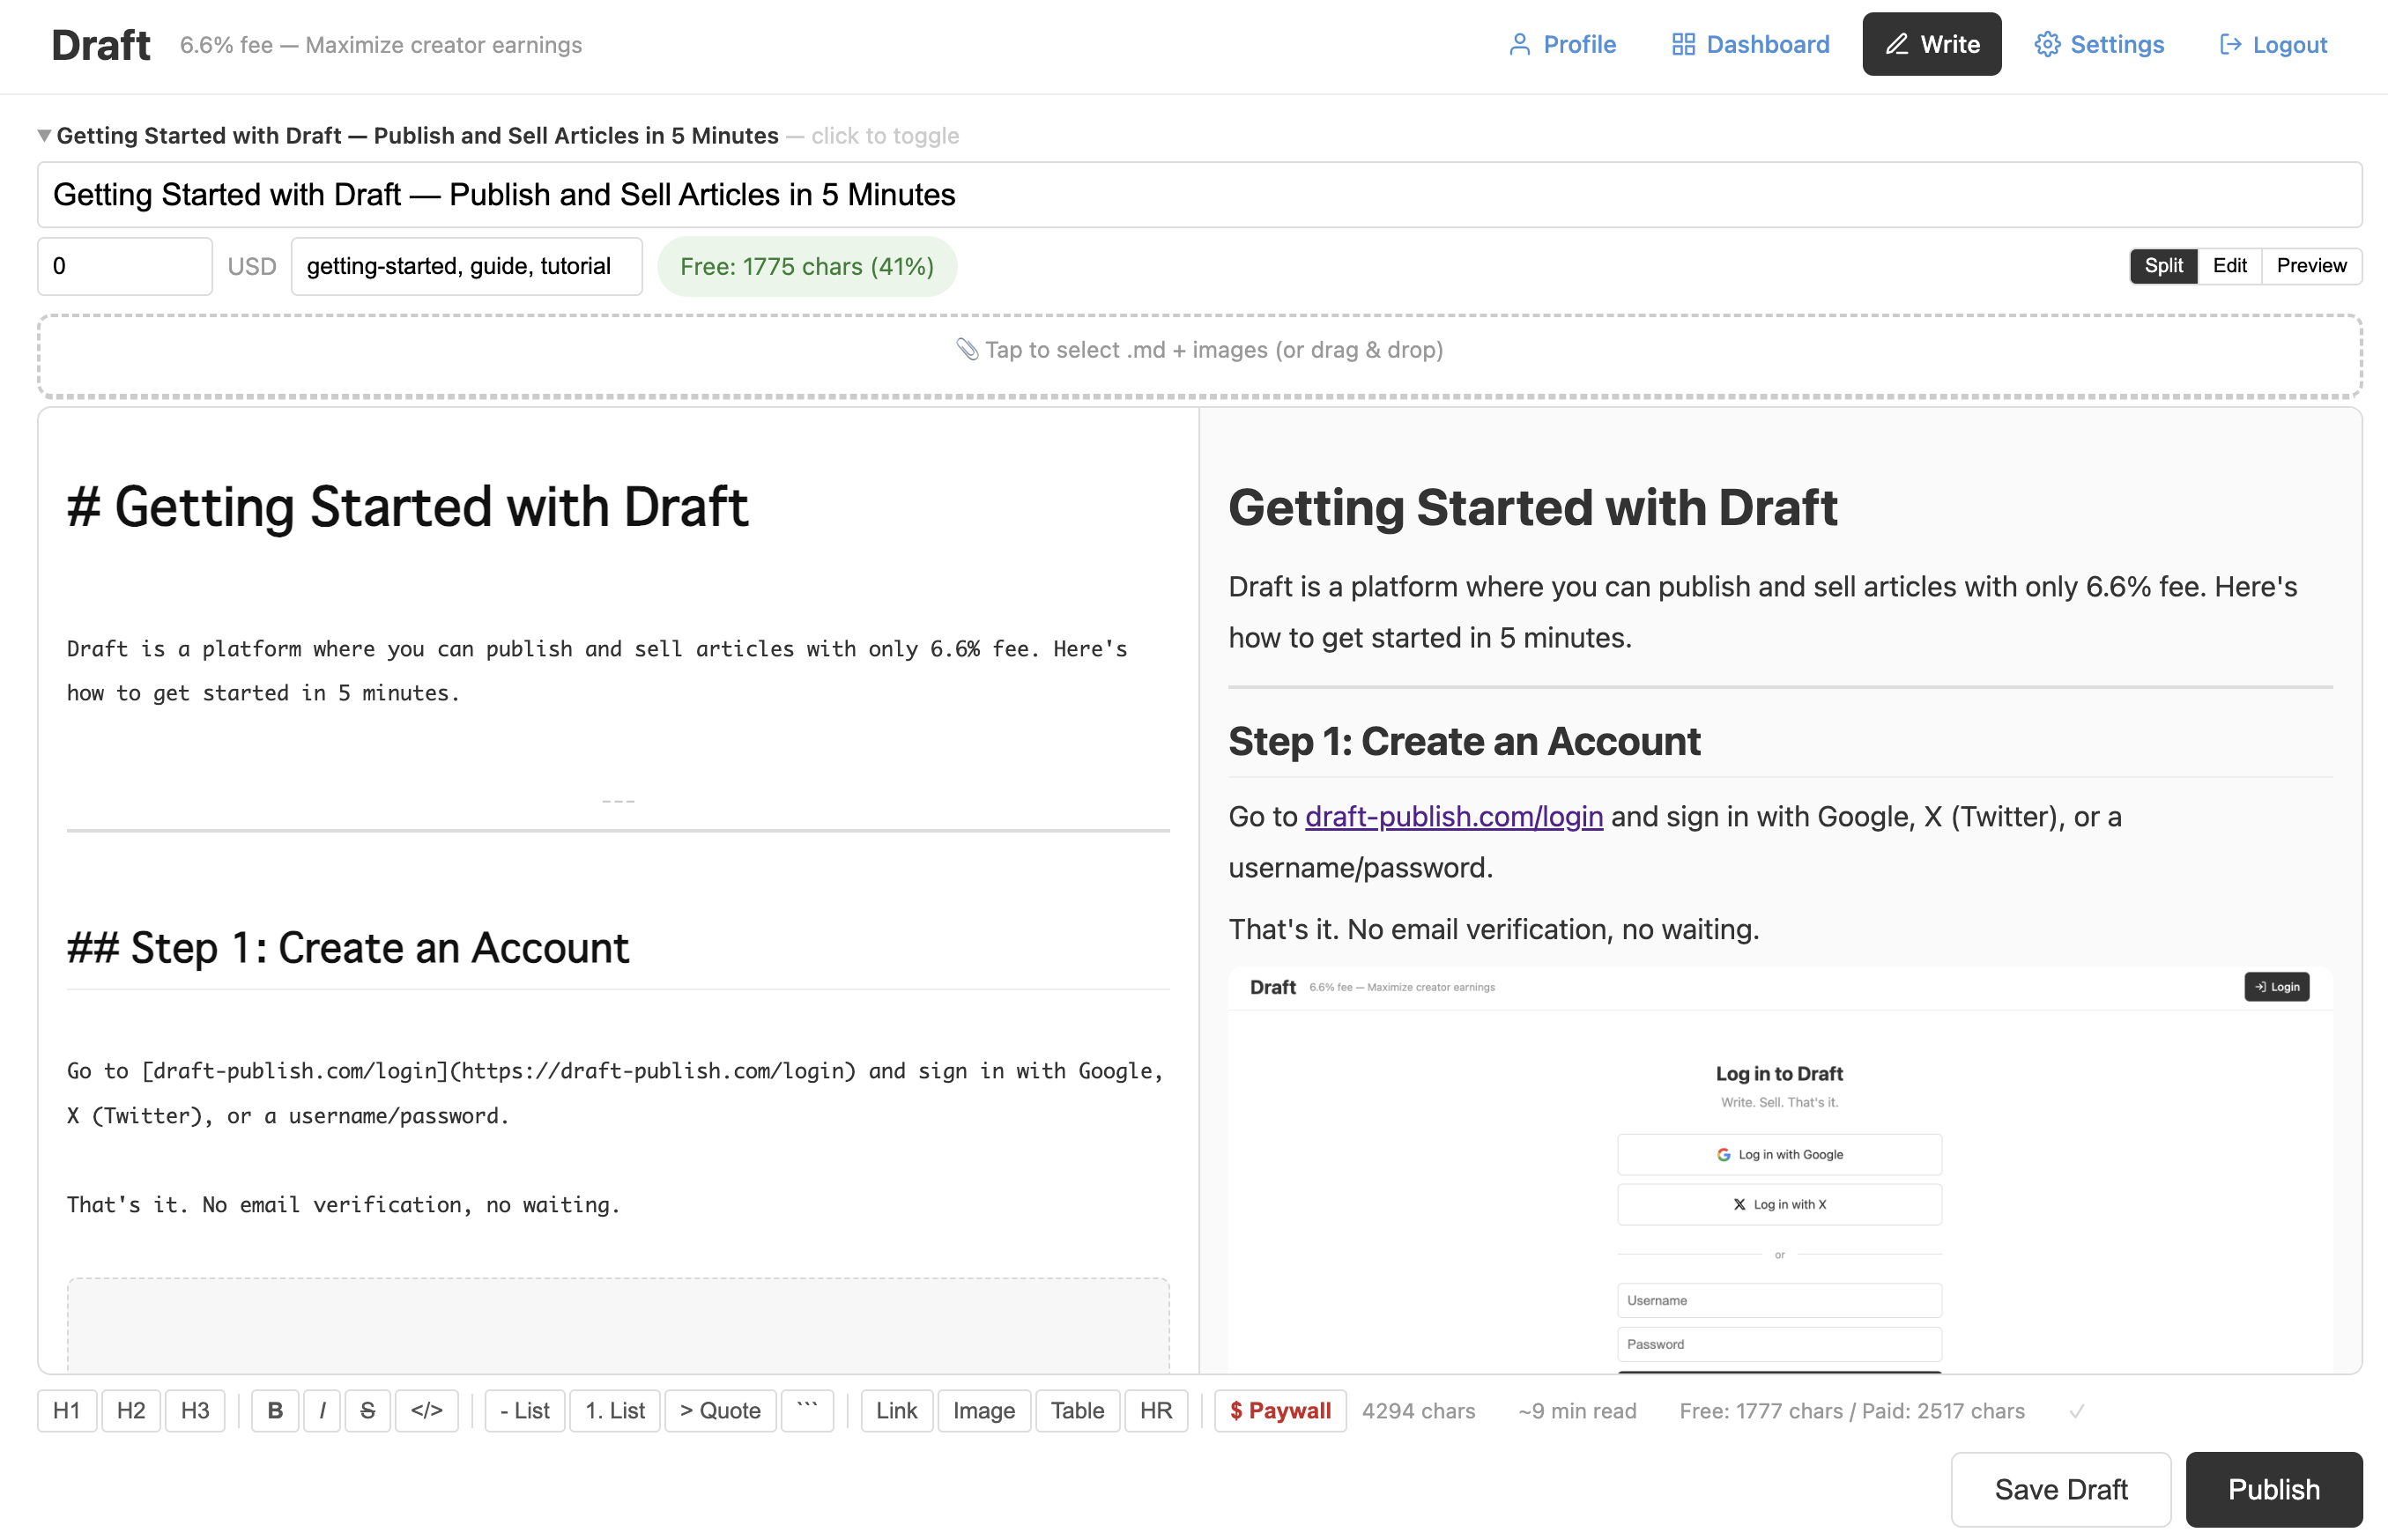
Step 2: Write Your First Article
Option A: Web Editor
Click "Write" in the top navigation bar. You'll see a Markdown editor with live preview.
Write your article in Markdown. The editor supports:
- Headings, bold, italic, strikethrough
- Code blocks with syntax highlighting
- Tables
- Images (drag and drop)
- Lists (bullet and numbered)
- Blockquotes
- Slash commands (type
/for a menu)
Keyboard shortcuts:
Ctrl+B— BoldCtrl+I— ItalicCtrl+K— Insert linkCtrl+E— Toggle split/edit/preview
Option B: CLI (for developers)
Install the CLI with one command:
pipx install git+https://github.com/s-saga011/draft-publish.git
Set up your server:
draft remote https://draft-publish.com --lang en
Create and publish an article:
draft new "My First Article" --price 5
cd ~/drafts/my-first-article-xxxxxx/
# Edit article.md with your favorite editor
draft push

Step 3: Set a Price (Optional)
- Free articles: Set price to 0. Everyone can read the full article.
- Paid articles: Set any price. Readers see a preview, then pay to read the rest.
For paid articles, add a paywall marker in your Markdown:
Free content here...


Paid content here...
Everything above `` is free. Everything below requires purchase.
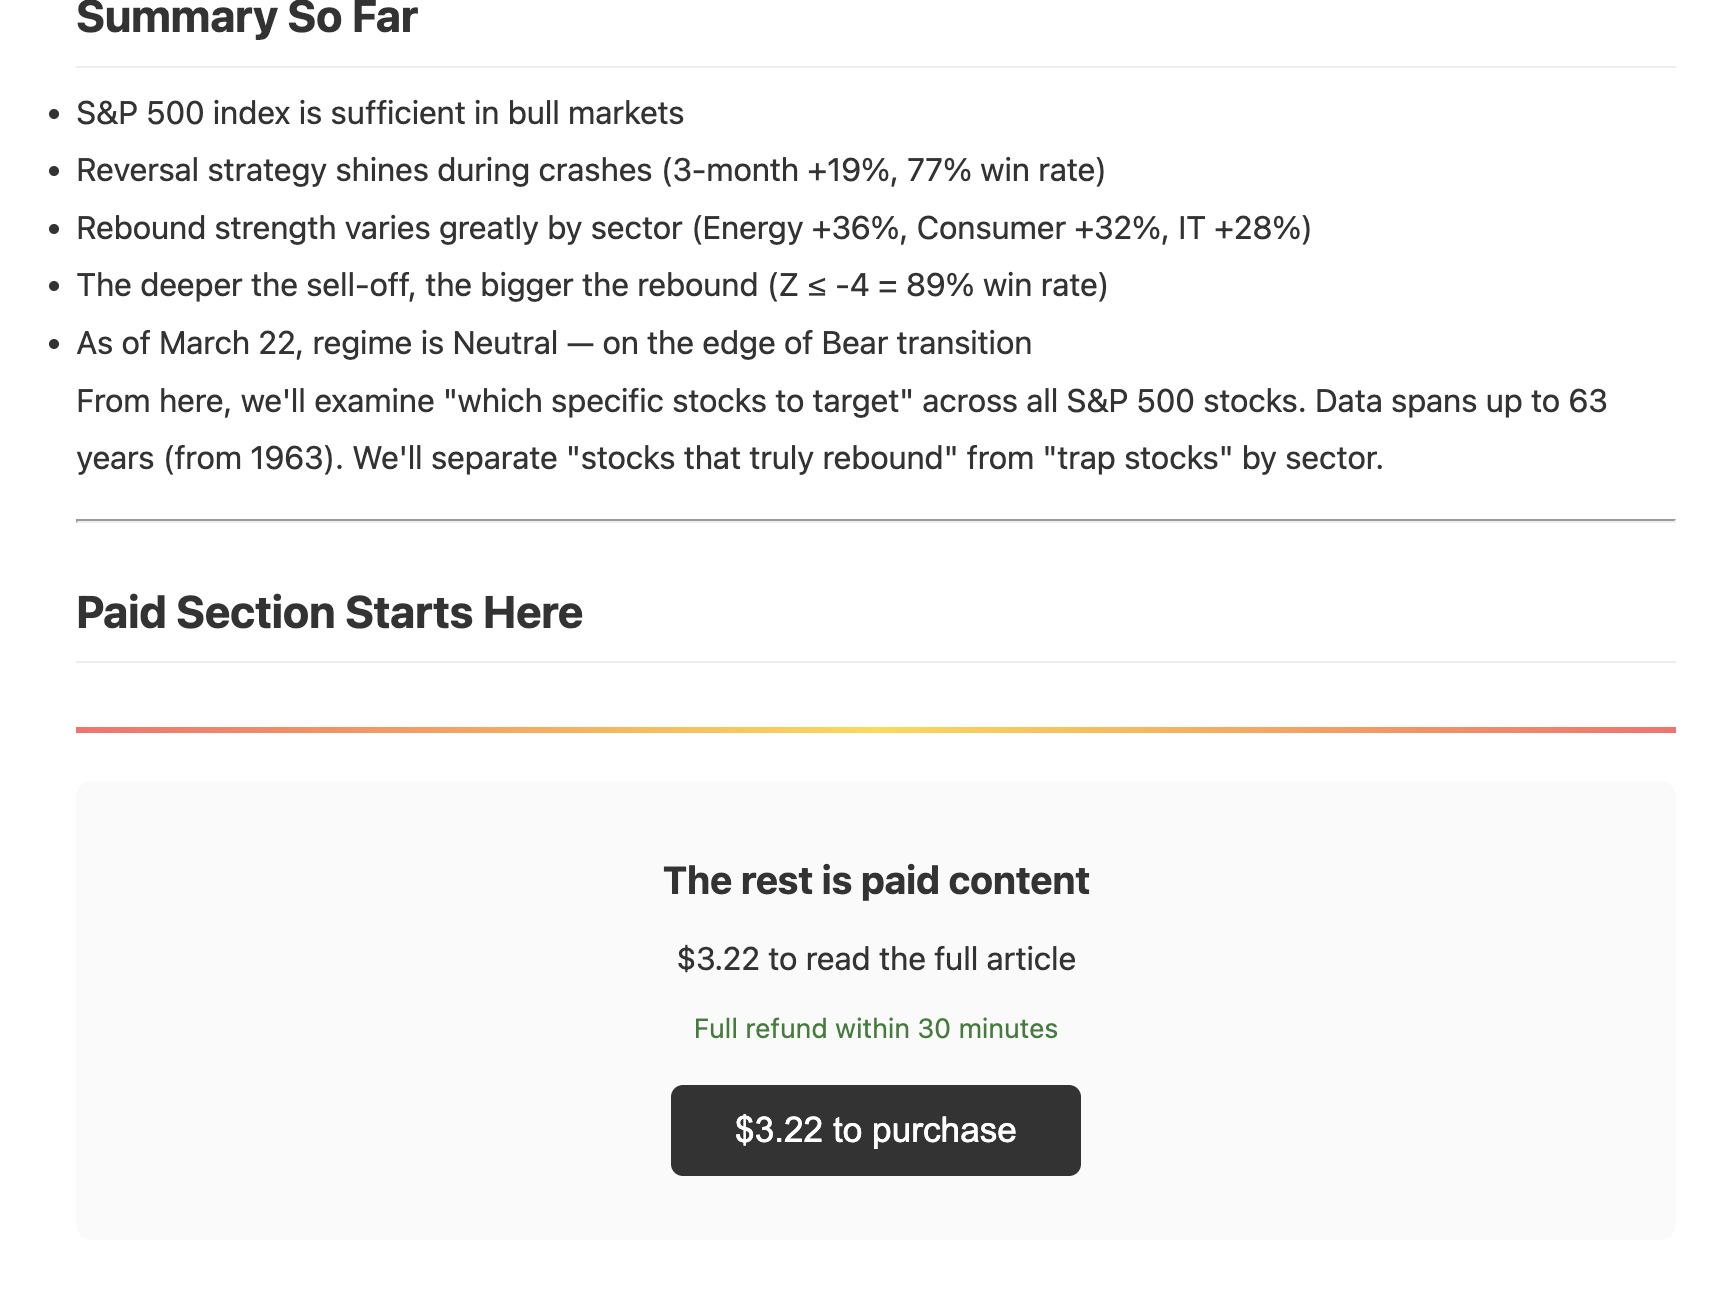
Rule: At least 300 characters must be free, so readers can judge quality before buying.
Here's what readers see at the paywall:
Step 4: Add Images
Web Editor
Drag and drop images onto the editor. They're automatically uploaded and linked.
CLI
Put images in the same folder as your article. They're auto-detected and uploaded when you draft push.
my-article/
├── article.md
├── chart1.png
├── chart2.png
└── charts/
    └── analysis.png    ← subfolders work too
Step 5: Publish
Web Editor
Click "Publish" at the bottom of the editor.
CLI
draft push      # uploads as draft
draft publish   # makes it public
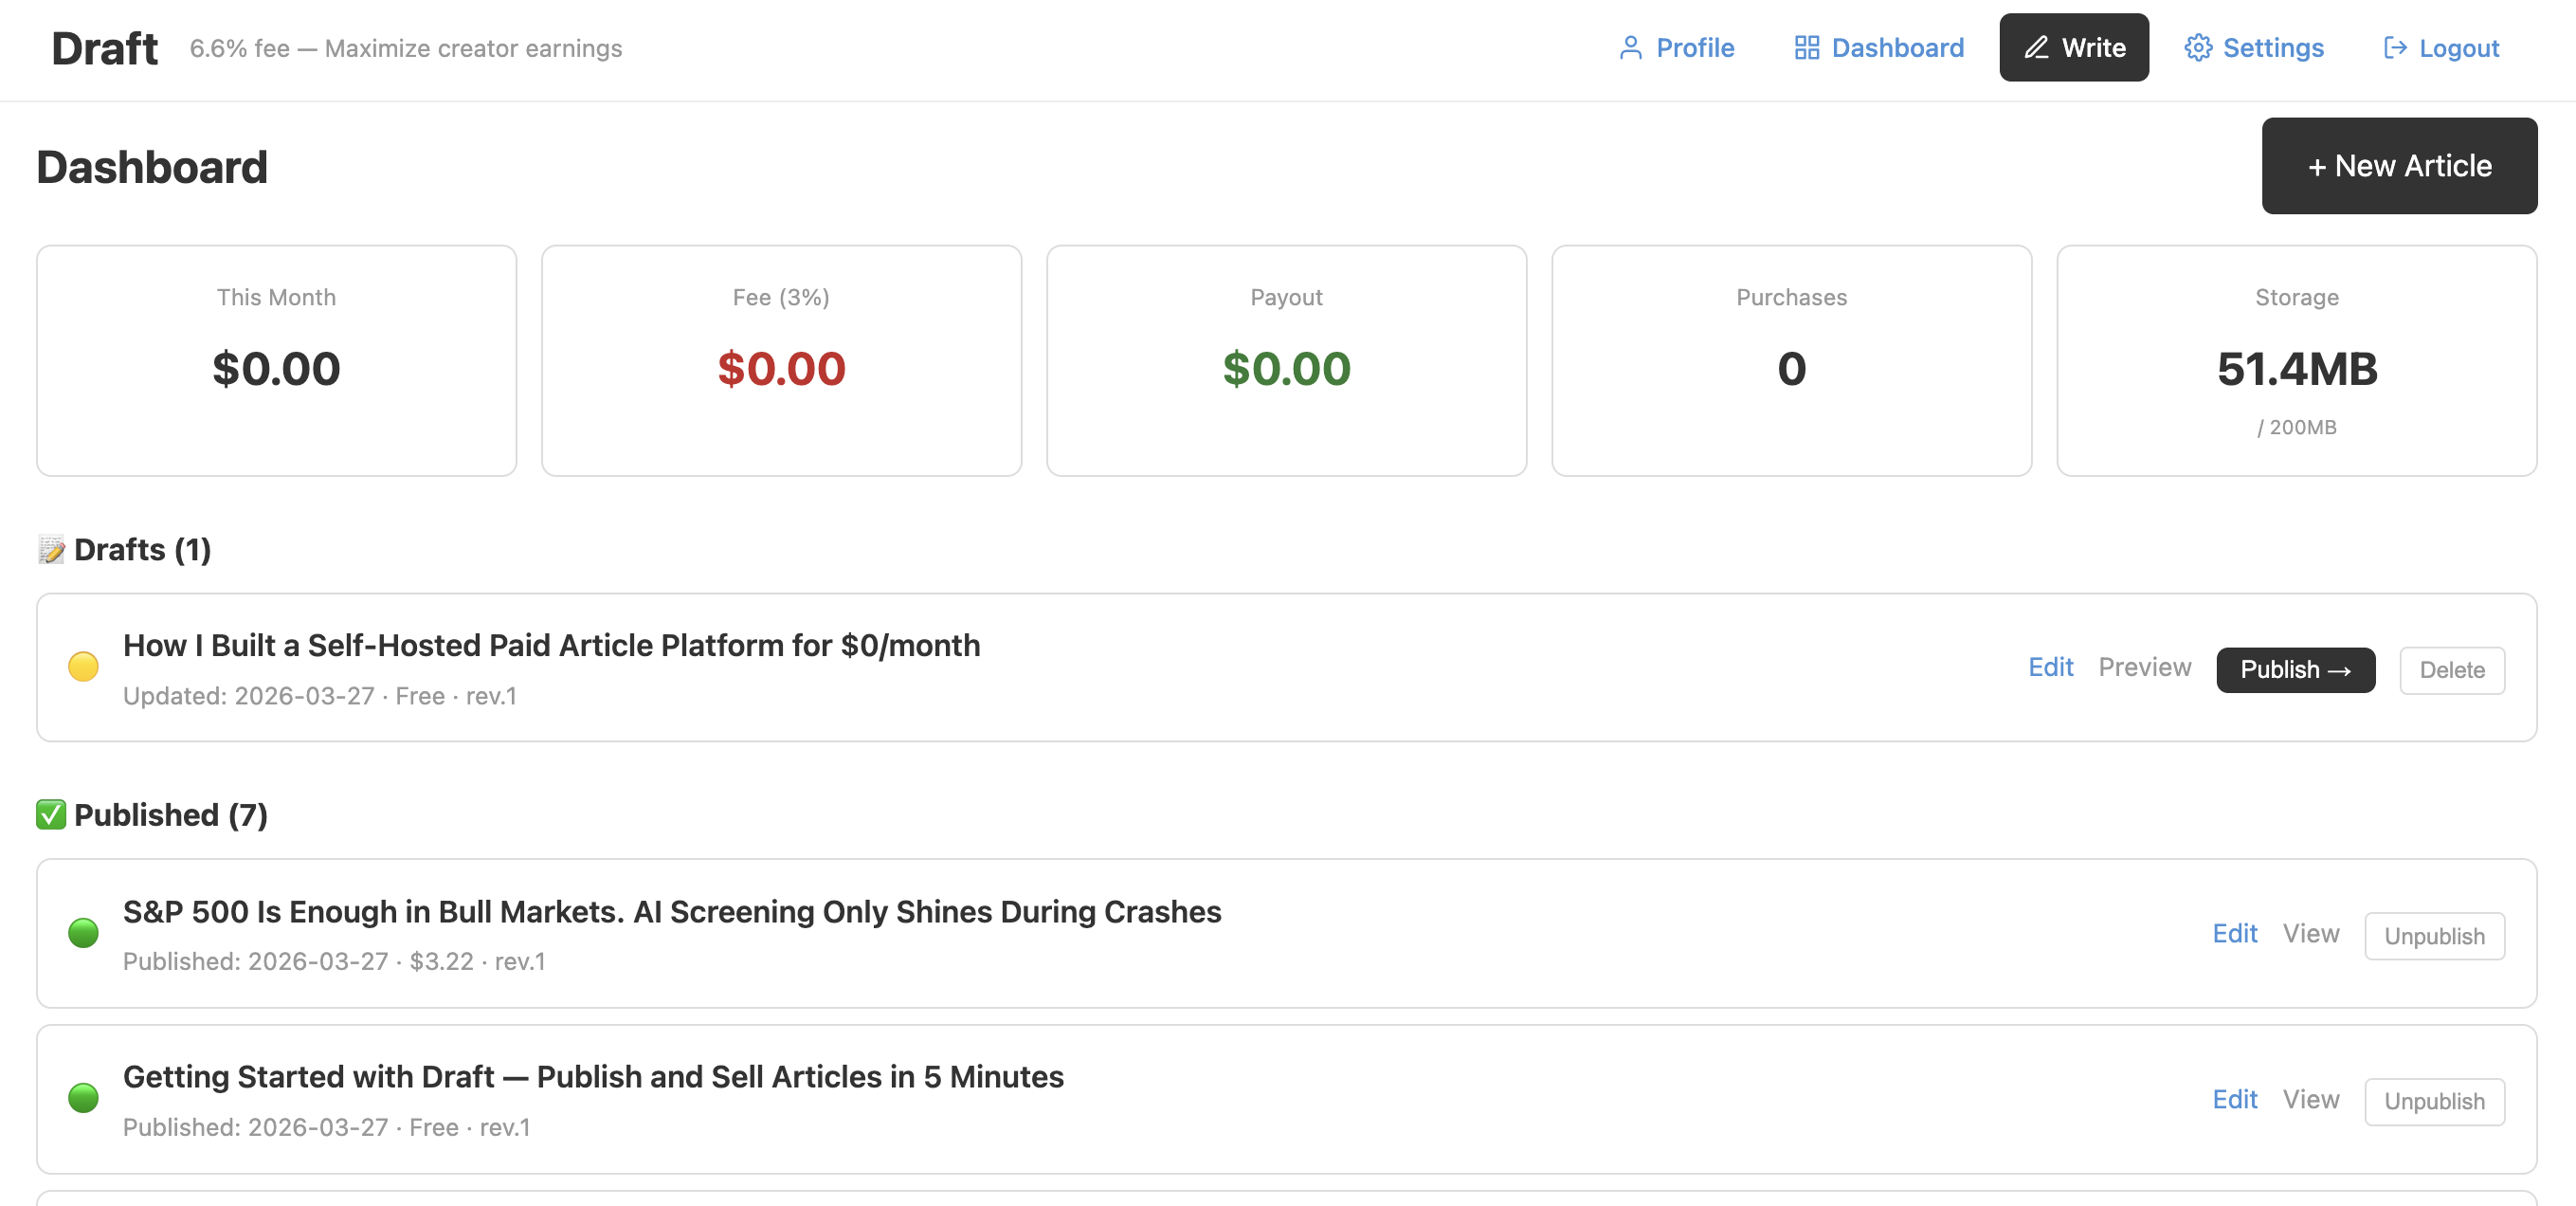
Your article is now live at https://draft-publish.com/articles/your-slug.
Your dashboard shows all your articles, sales, and storage usage:
For Readers: How to Buy
- Find an article on the homepage
- Read the free preview
- Click the purchase button
- Pay with credit card (Stripe)
- Full article is immediately visible
- Not satisfied? Refund within 30 minutes, no questions asked
For Creators: Get Paid
Payment system coming soon
Connect your Stripe account in Settings to receive automatic payouts.
When someone buys your article:
- Stripe fee: 3.6%
- Platform fee: 3%
-You receive: 93.4%
Example: $10 article → you get $9.34.
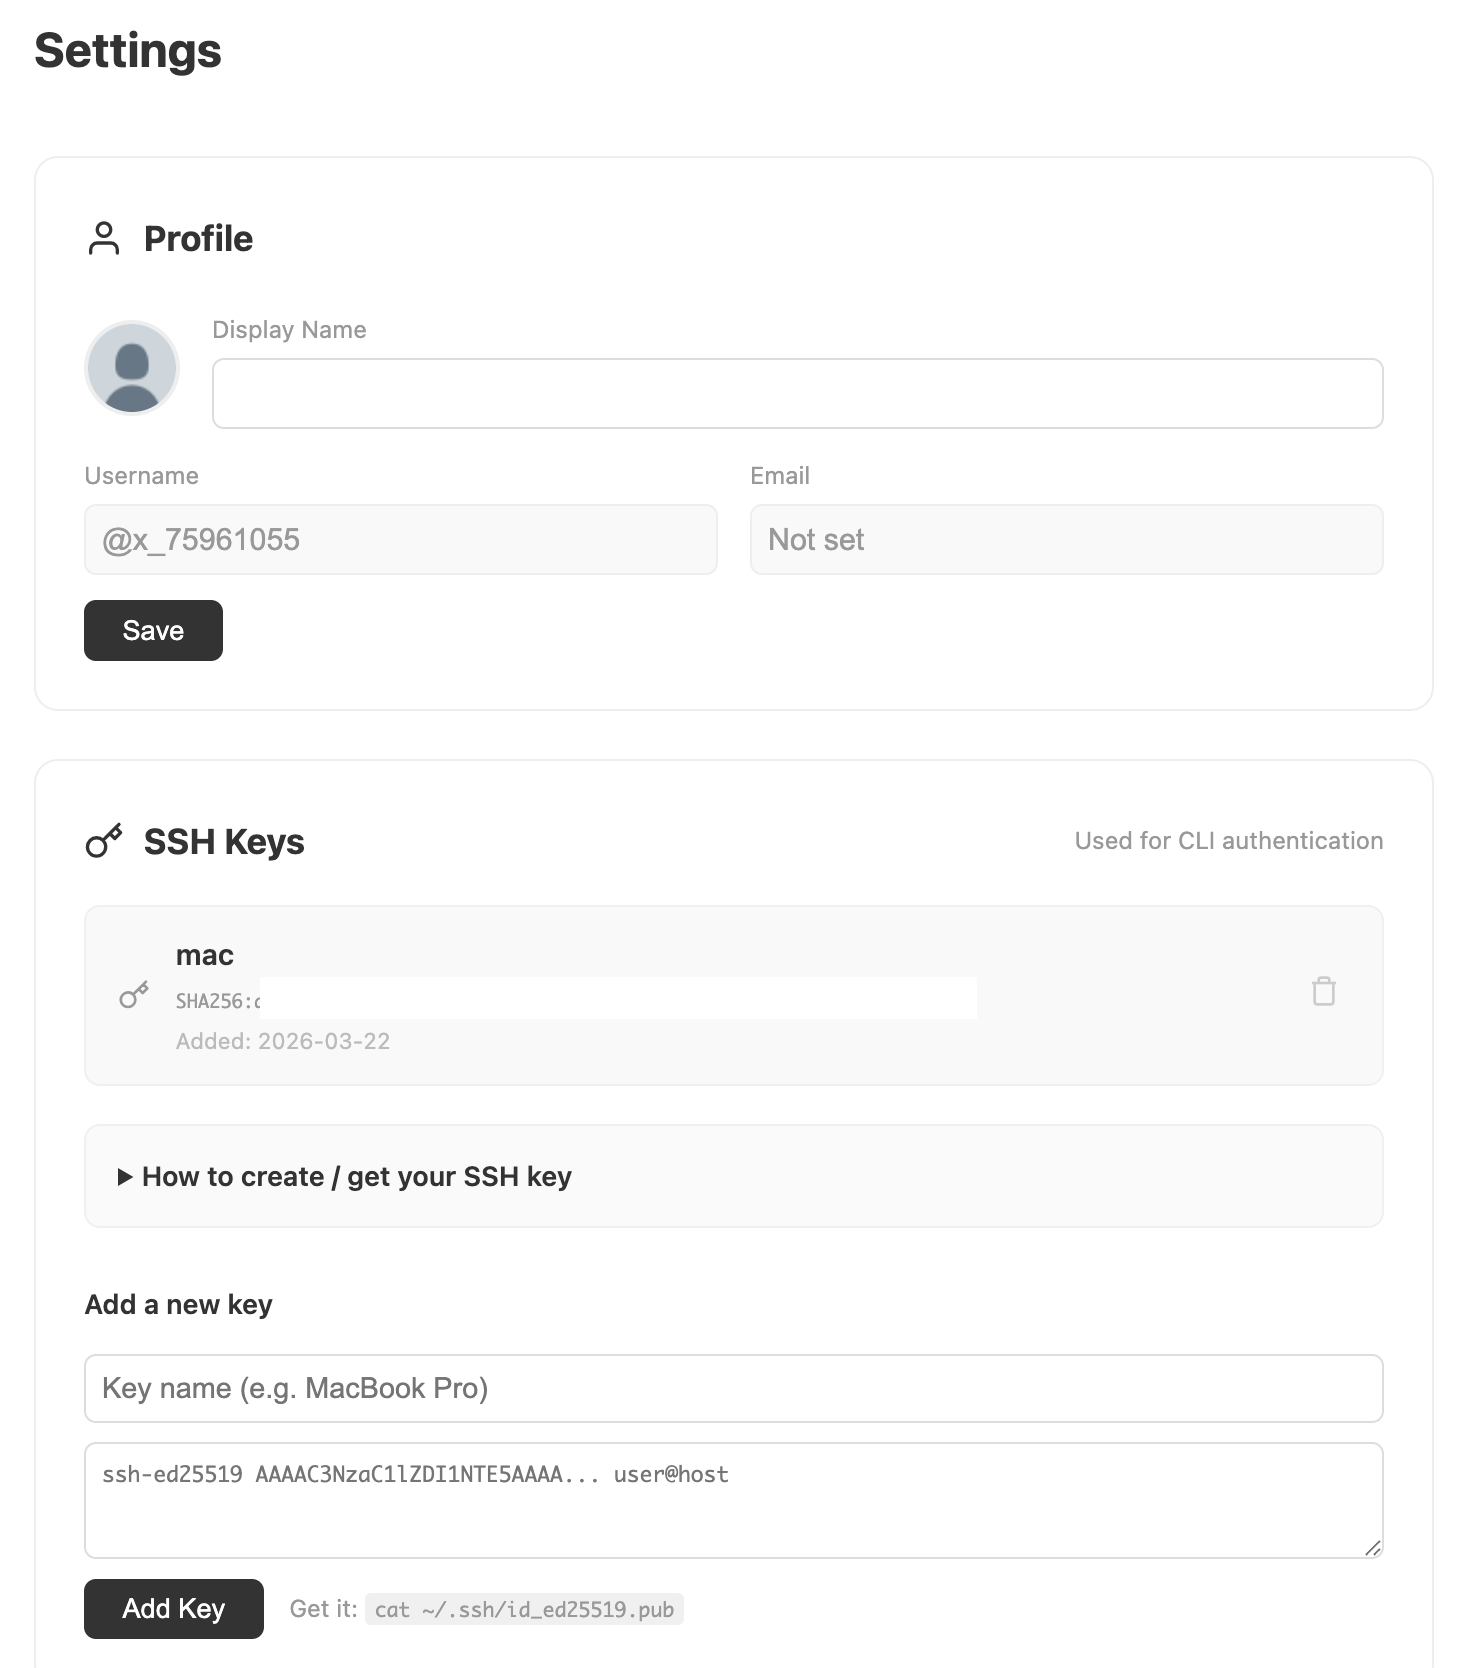
SSH Key Setup (CLI users)
The CLI authenticates with SSH keys, like GitHub. No passwords stored.
- Go to Settings
- Open "SSH Keys" section
- Paste your public key (
cat ~/.ssh/id_ed25519.pub) - Done —
draft pushnow authenticates automatically
Tips
- Markdown files + images: Put them in a folder and
draft push ./folder/to upload everything at once - Multiple articles: Each article is a "branch" in
~/drafts/. Manage them withdraft status - Edit published articles:
draft checkout <slug>to download, edit, thendraft pushto update - Revision history:
draft logshows all versions
Questions?
Use the feedback form on the homepage or check the CLI guide.
Welcome to Draft. Write. Sell. That's it.